A Guide for How to Change Headlight Bulbs
Working headlights are a fundamental element of car safety, but like every other part of a vehicle, they sometimes need some maintenance. Headlights can fail for several reasons - namely age, extreme temperature changes, damage to the light housing, and oxidation - but whatever the cause, they should be replaced as soon as they go out. Keep reading to learn how to change headlight bulbs in six steps!
1. Park in a Well-Lit Area and Turn Off the Engine
Be sure to turn off your car and take the keys out of the ignition before doing any work to avoid injuring yourself. It's also wise to park your vehicle on a flat surface with good lighting.
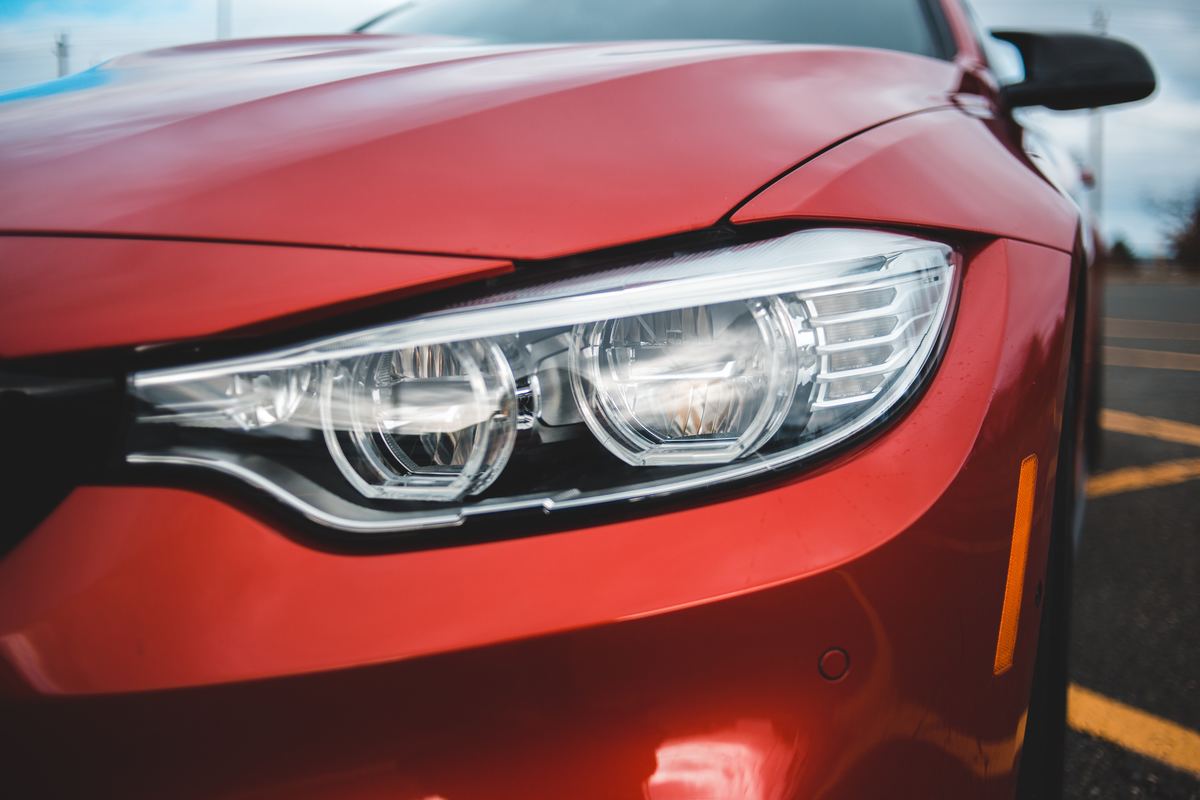
2. Open the Hood and Disconnect the Headlight Housing
Next, open your hood and find the headlight housing. The location of the housing changes depending on the build of the car. Some headlight housings also don't require removal, so they can be accessed through the engine bay or behind the wheels.
There are usually a set of three wires connected to the back of the light bulb that are held in place with a metal clip or a screw cap. They can be detached by pressing on a tab or a clip to release the power connector from the bulb.
3. Unscrew the Old Headlight Bulb
If you're changing the headlights in an older vehicle, then you'll have to check which bulb is the low beam and the high beam. The low beam bulb tends to be on the outer side of the headlight, and the high beam is on the inside. The low beam bulb also has a higher part number than the high beam bulb, so check the owner's manual to ensure that you know the difference between each bulb. New models use one bulb for both.
Once you've got that sorted, grab the bulb and turn it counterclockwise. Pull the bulb out after the locking tabs are aligned. Be especially careful during this step as damage to the locking tabs will force you to replace the entire headlight assembly.
4. Screw in the New Headlight Bulb
Oils, dirt, and water can contaminate and lessen the life span of a lightbulb, so wear gloves when handling the replacement bulb to preserve it. Line the bulb up with the locking tabs on the headlight holder and turn it clockwise until you hear a click. Reattach the headlight assembly along with any other car parts you have removed.
5. Repeat Steps 2-4 on the Other Headlight
If one headlight bulb goes out, chances are that the other will soon follow. Replace headlight bulbs in pairs by repeating the same process from the previous steps.
6. Do a Quick Test
Turn the car back on and cycle through the low and high beams to make sure that they work properly. If they do, you're ready to get back on the road!
If you want an expert's help to ensure that your car is in good shape, look no further than Custom Complete Automotive. Our team of certified car repair technicians will assess, diagnose, and fix any problems you may be having with your vehicle, all for an affordable price. To learn more about our services or to schedule an appointment, please contact us today.
Find an Auto Repair Shop Near You
We have multiple auto repair shops throughout Missouri located in Columbia, Jefferson City, and St. Louis.
Eric Riddles is an ASE Certified Master Automobile Technician who has been working as an auto mechanic since 1998 and originally joined the team at Custom Complete Automotive in 2005. Eric has numerous certifications in various aspects of car repair and spent 10 years training the next generation of auto technicians at a local high school Auto Shop classroom.


